
Process
What to Expect on Fence Installation Day
· 3 min read · D2K crew
Learn exactly what happens when the crew arrives on fence installation day, from line verification to post setting, panel assembly, and final walkthrough.
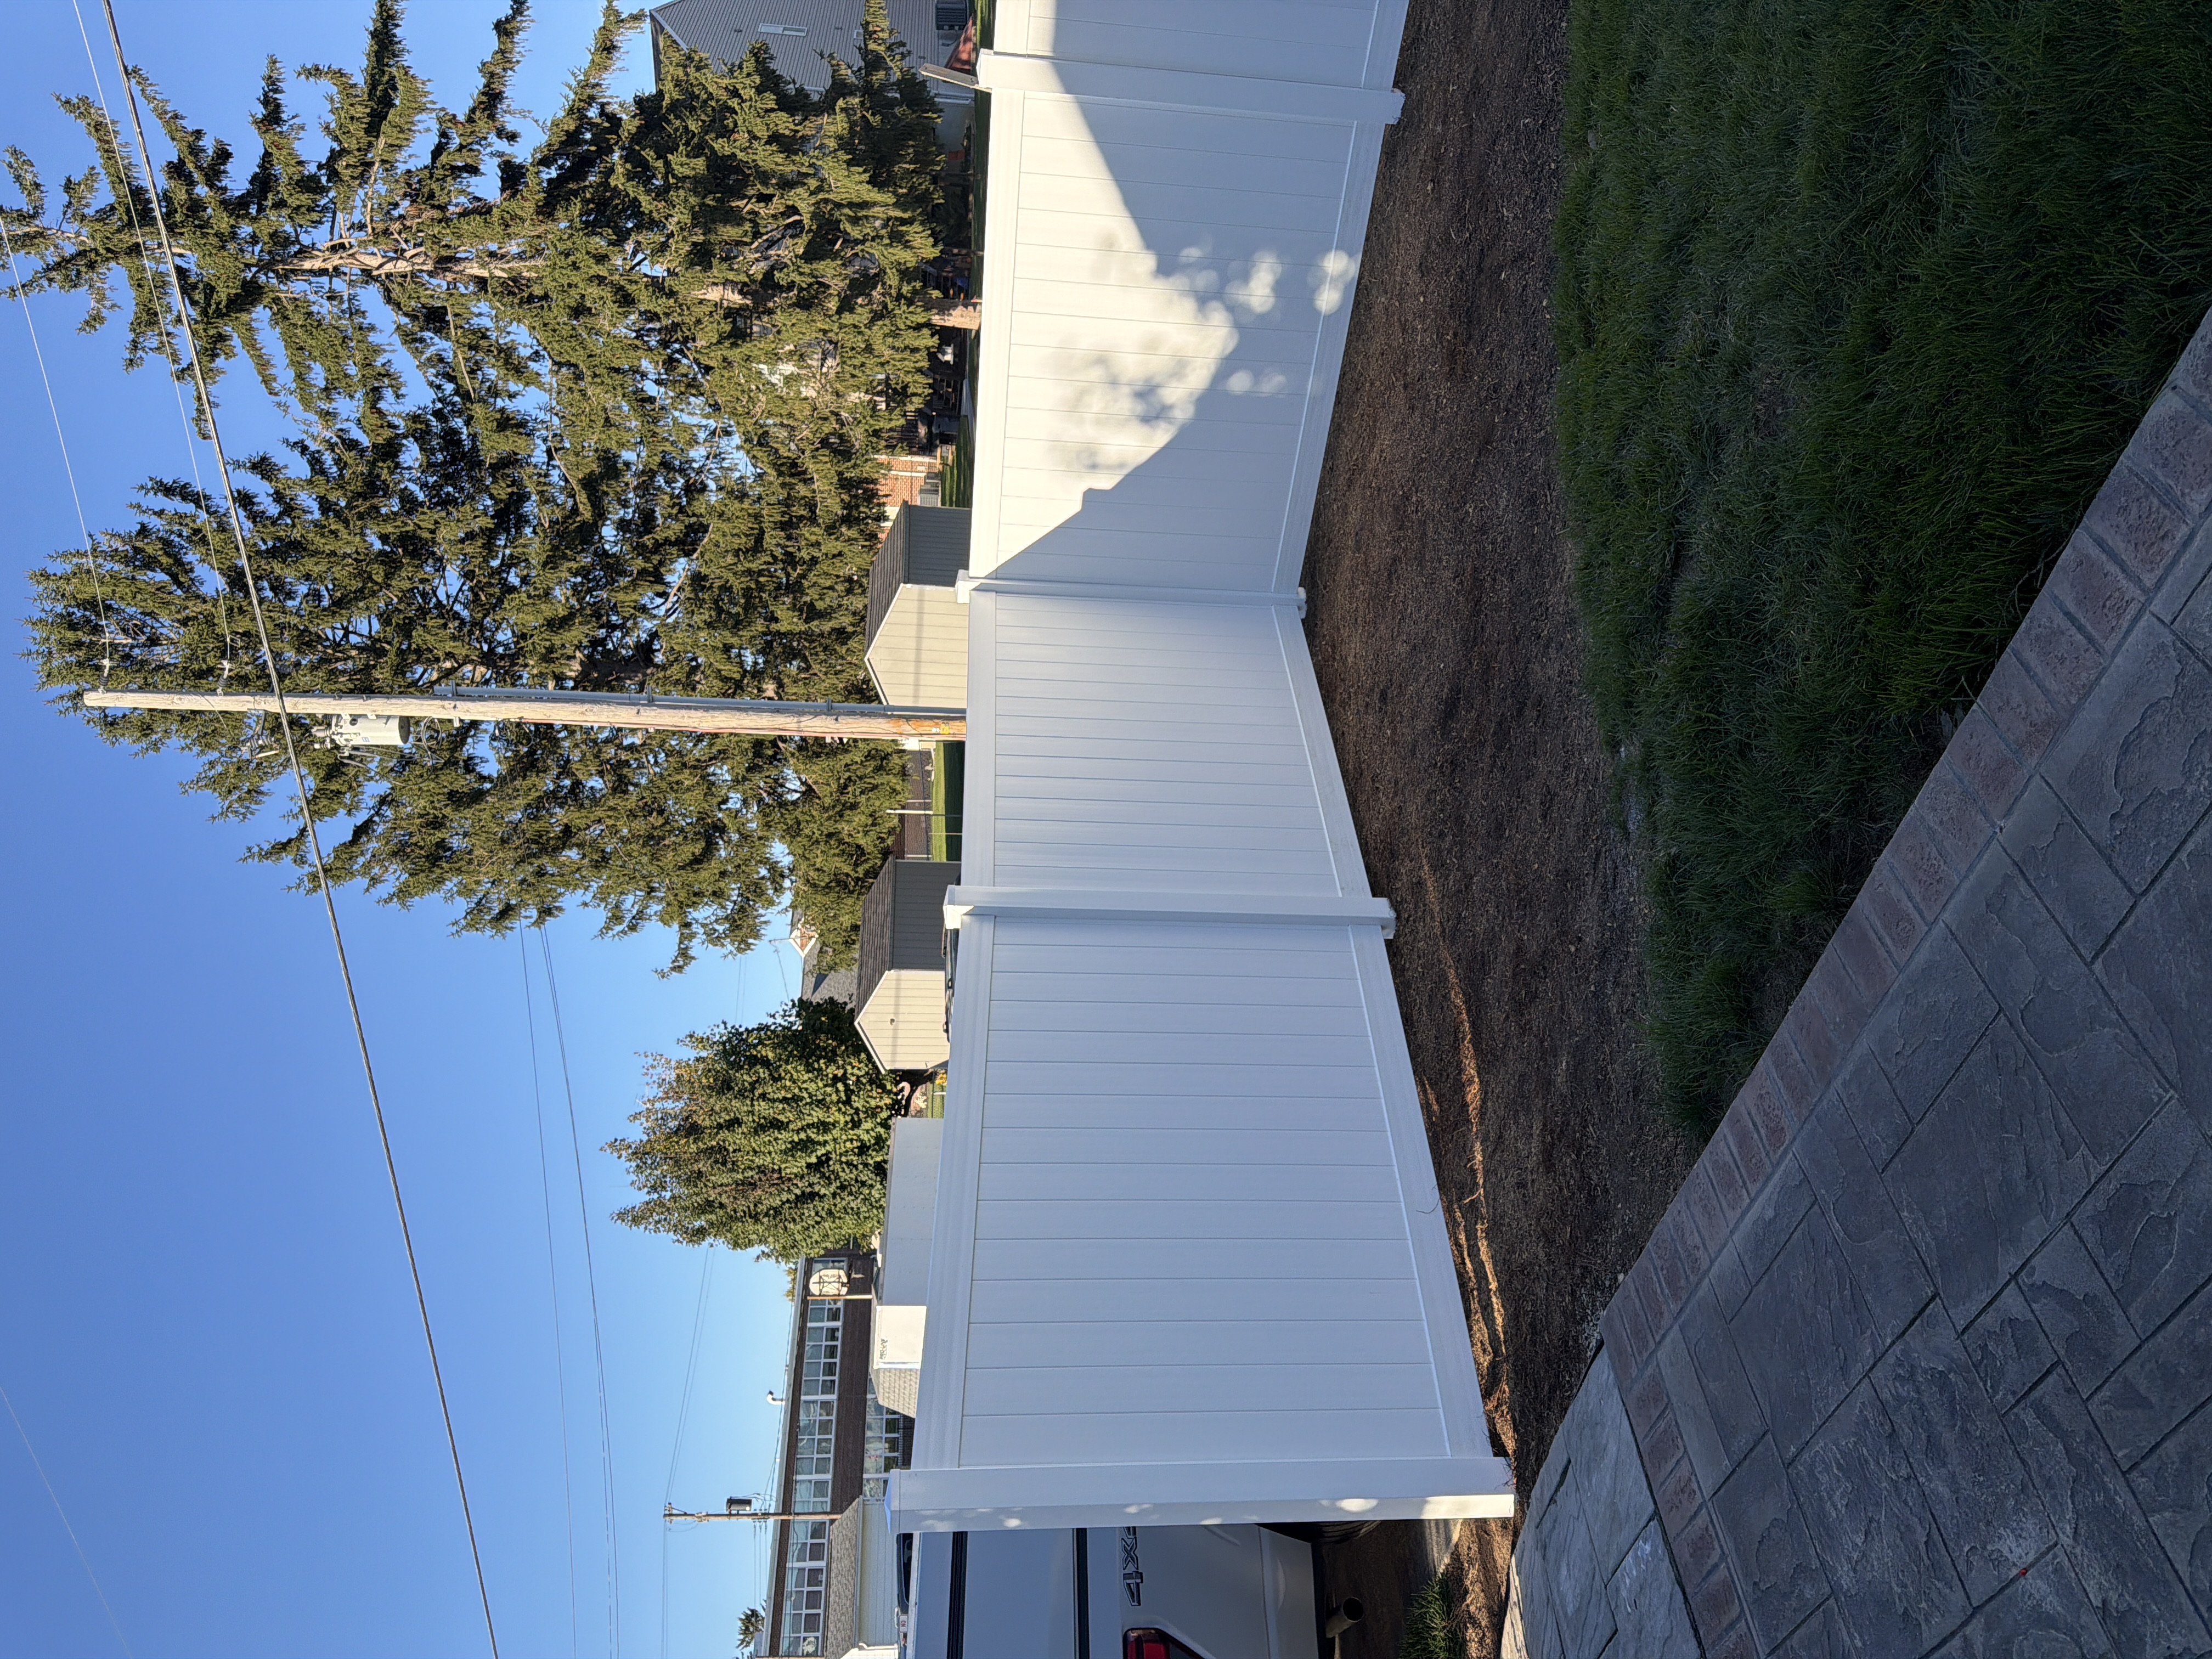
Crew Arrival and Site Layout Walkthrough
On installation day, the work begins the moment the crew truck arrives at your property. The foreman will introduce the team and review the project plan with you before starting any work. This initial conversation ensures everyone is aligned on the exact fence layout, gate placements, and site boundaries.
We verify all property line markers and examine the underground utility paint lines marked by public utility locators. Taking ten minutes to walk the line together in towns like Hanover, Gettysburg, or Westminster avoids misunderstandings and confirms that custom requests—such as specific gate swing directions or ground clearances—are understood before tools touch the dirt.
- Review boundary stakes and string line locations with the foreman
- Confirm gate opening widths and swing direction
- Verify public utility paint marks along the digging path
- Identify workspace areas for equipment and materials
Digging Post Holes and Navigating Local Soil
Once the line is set, hole excavation begins. Crews use power augers or manual post-hole diggers depending on workspace access, ground slope, and proximity to marked utilities. Holes must be dug to proper depth below the frost line to prevent ground heaving during freezing weather.
Soil conditions in Central Pennsylvania and Northern Maryland can vary widely. Places like York, New Oxford, and Hampstead often feature dense clay, heavy shale, or hidden limestone rock. Professional crews carry specialized rock bars, jackhammers, and heavy auger bits to cut through tough soil without compromising hole depth or fence alignment.
- Dig post holes below the local frost line depth
- Use specialized equipment to punch through shale and rock
- Hand-dig carefully near marked underground utility lines
- Set terminal, corner, and gate posts first for alignment
Setting Posts in Concrete and Checking Level
Posts form the structural backbone of your fence. Each wood, vinyl, or aluminum post is set deep into the dug hole and plumbed using post levels. High-strength concrete is mixed and poured around the post to lock it firmly in place.
String lines stretched across the entire run ensure that post tops match the desired elevation and follow the natural grade of your yard. Before moving on to section assembly, the crew verifies that every post is straight, spaced correctly, and supported while the concrete sets.
- Pour concrete around every post for structural rigidity
- Check vertical plumb and elevation with string lines
- Maintain precise post-to-post spacing for panels
- Allow concrete base to initial-set before loading panels
Assembling Panels, Rails, and Gate Hardware
With posts anchored, the crew moves to installing structural rails, individual pickets, or pre-assembled fence panels. Whether putting up vinyl privacy sections in East Berlin or decorative aluminum around a yard in Littlestown, panels are secured tightly to post brackets or routed slots.
Gates require extra care because they handle continuous movement. Installers mount heavy-duty hinges, align post latches, and install drop rods. The crew adjusts gate clearances to ensure smooth operation that accounts for lawn slope and gate clearance over grass or patio pavers.
- Attach fence sections or individual pickets securely to posts
- Mount hinges, latches, and drop rods on gate frames
- Test gate swing and latch engagement multiple times
- Adjust ground clearance for smooth operation across lawn slopes
Site Cleanup and Final Walkthrough
After the last panel is secured, installation transitions to site cleanup. The crew rakes excess dirt back around post bases or collects excess fill as agreed upon during planning. Scraps, packaging, toolboxes, and equipment are loaded back onto the trucks.
The job concludes with a final walkthrough. The foreman walks the fence line with you, showing you how gate latches operate, reviewing proper care, and confirming that the project matches your expectations from corner to corner.
- Clean up job site debris, material offcuts, and packaging
- Rake and dress soil around newly set posts
- Test all gate latches and lock mechanisms with the homeowner
- Complete final inspection to verify overall craftsmanship
Want a price for your own yard?
Draw your fence line on a satellite view of your property and see a preliminary price in a few minutes.