
Planning
How to Plan a Backyard Fence Layout: Step-by-Step
· 4 min read · D2K crew
Learn how to measure, map gate openings, work around obstacles, and plan a functional backyard fence layout for your property.
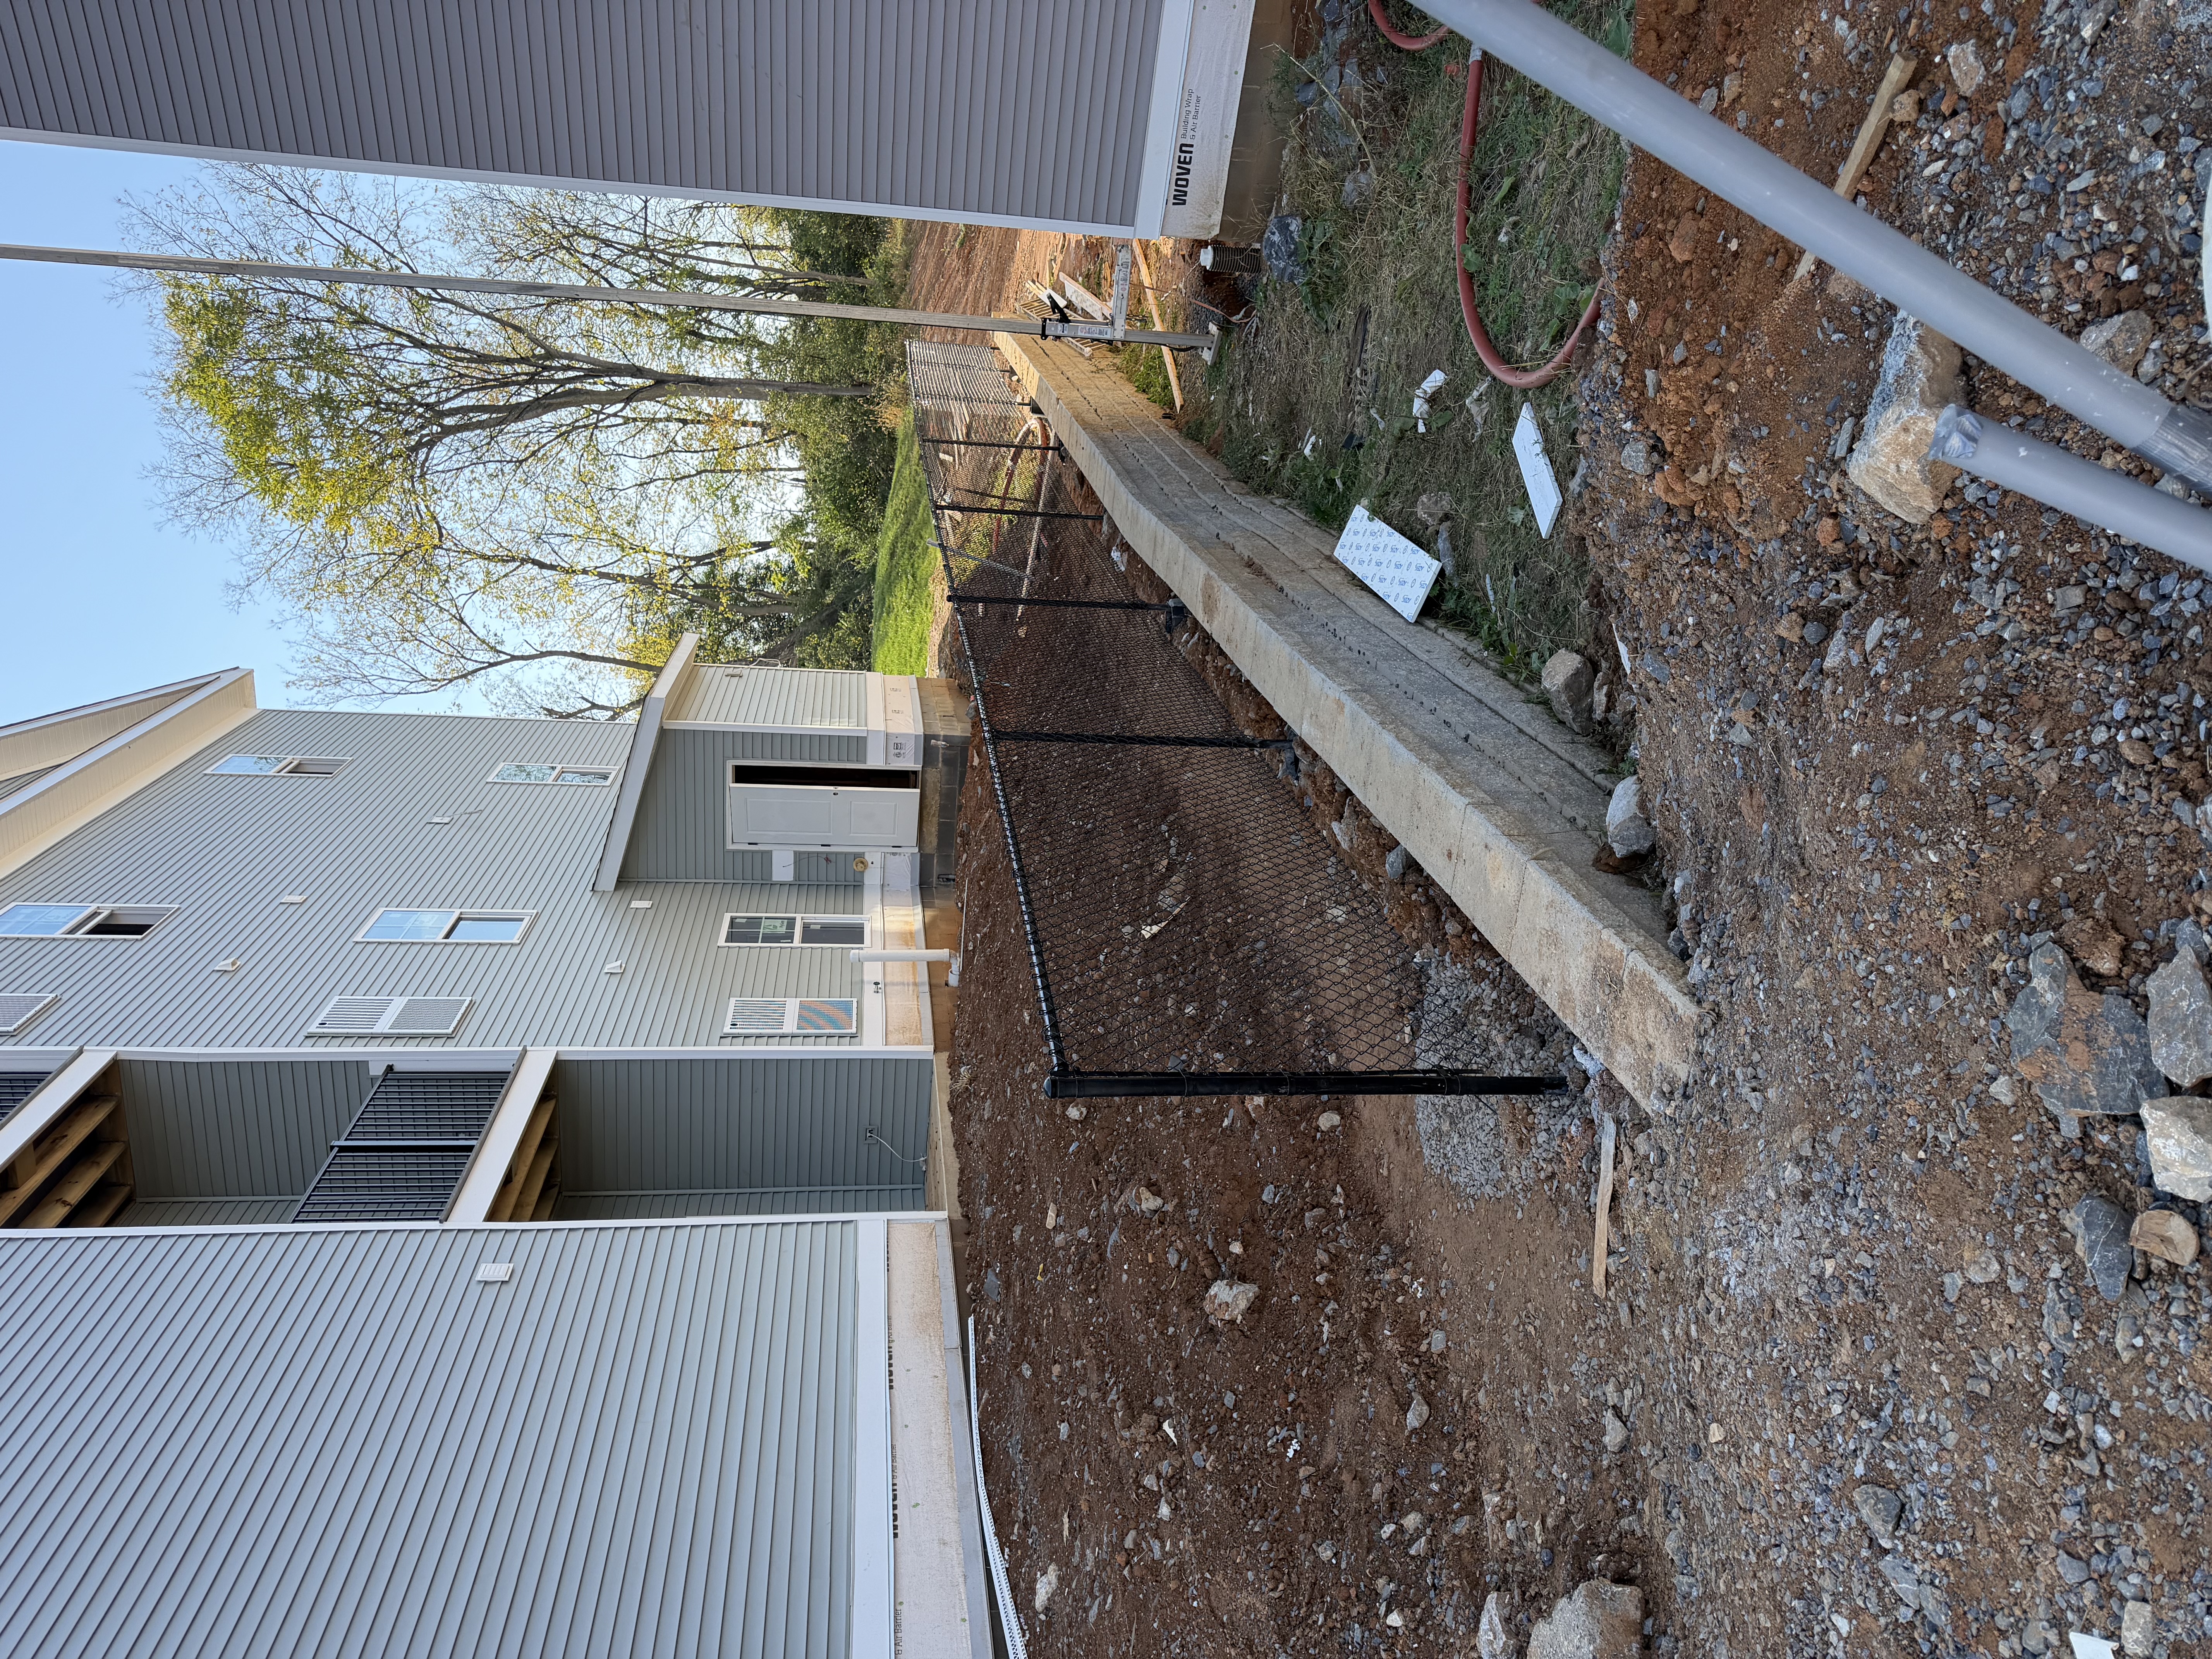
Start with a Yard Map and Hard Measurements
Laying out a fence requires accurate ground measurements rather than rough guesses. Start by drawing a bird-eye sketch of your yard, including the house foundation, patio edges, sheds, and major trees. Pull a 100-foot tape measure along each boundary line to record exact dimensions. Factor in setback requirements from your property line so post holes remain squarely inside your land. Homeowners in Hanover and York often discover that physical features like mature root systems or sloped ground alter the straightest line, making early measurements crucial for material ordering.
When running your tape measure, record exact numbers for every section. Measure from fixed points on the house structure to double-check parallel lines. Write down the locations of permanent features like outdoor hose bibs, air conditioner units, and basement hatch doors so you do not accidentally block utility access during layout planning.
- Mark property pins clearly before pulling tape lines
- Note exact distances from house corners to property edges
- Identify subterranean obstacles like root flare or boulder beds
- Record total linear footage for accurate post spacing calculations
Map Out Gate Placements and Equipment Clearance
Gate placement dictates how well your yard functions after the fence is built. Place your main pedestrian gate on the path of least resistance between your driveway or back door and the yard. If you hire lawn care contractors or use a riding mower, plan for a double-drive gate measuring at least six feet wide. Property owners in Hampstead and Westminster MD frequently run into access issues when riding equipment cannot fit through standard single pedestrian gates.
Think through daily movement patterns before finalizing gate locations. Consider trash can storage, access to air conditioner units, and carrying bulky deck furniture or firewood into the yard. Placing a single gate next to the garage wall while keeping a wider access gate near the opposite property edge gives you utility without cluttering your main entrance path.
- Align primary gates with existing walkways or patio steps
- Ensure riding mowers have sufficient clearance openings
- Leave space for gate swing clearance away from sloped grade
- Position access points near utility meters and service equipment
Account for Slopes, Grade Changes, and Drainage Patterns
Rolling topography changes how fence panels seat against the turf. On sloped yards throughout Gettysburg and New Oxford, you must choose between stepped panels or a racked layout that follows the ground contour. Stepped layouts create triangular gaps under the lower edge, while racked fences stay close to the turf line to keep small dogs enclosed.
Drainage paths are equally critical when setting post layouts. Avoid placing corner posts directly in low spots or seasonal swales where water collects after rainstorms. Standing water around post footings accelerates soil shifting in winter frost cycles. Shifting a post line two feet away from a primary drainage channel prevents long-term stability issues without sacrificing your overall layout.
- Choose racking for smooth ground contouring on rolling hills
- Select stepped panels for sharp slope drops or staircases
- Keep fence bottom rails clear of low swales and standing water
- Offset corner posts from concentrated stormwater run-off paths
Integrate Existing Structures and Outdoor Living Spaces
A good fence layout ties into existing hardscapes, decks, and outbuildings without leaving awkward narrow gaps. Running a fence directly up to a porch pillar or deck beam requires careful framing so post holes do not undermine concrete footings. In East Berlin and Littlestown, connecting backyard fences into existing paver patios or retaining walls requires setting layout stakes that account for underground drainage beds and sub-base gravel.
Allow comfortable buffer zones around patio living areas so the fence does not feel restrictive. Leaving four to six feet of turf or garden bed between a patio edge and the fence line creates visual space and room for maintenance equipment. Work your layout around fixed elements so the end result feels like an intentional design rather than an afterthought.
- Leave standard offset gaps around deck footings and paver bases
- Ensure space between garden beds and fence panels for line trimmers
- Avoid closing off access to utility meters and spigots
- Align fence lines parallel to main house framing walls when possible
Dry-Run Your Layout with Stakes and Mason Line
Before digging post holes or finalizing layout plans, physically stake out the entire fence line. Drive wooden stakes at every corner, end post, and gate location, then pull a tight mason string line between them. Walk the line to check sightlines from inside the house, verify gate clearance, and test mower paths.
Seeing the perimeter layout on the actual terrain reveals hidden issues that paper drawings miss. You might notice a tree branch interfering with panel height or an unmapped grade change near a corner post. Making adjustments with string line and stakes takes minutes, whereas moving a set post takes hours of manual excavation.
- Drive stakes slightly past actual corner points for clear string lines
- Check sightlines from back windows and patio seating areas
- Verify gate swing radiuses with tape measures on the ground
- Mark utility line clear zones after calling locating services
Want a price for your own yard?
Draw your fence line on a satellite view of your property and see a preliminary price in a few minutes.